The Graphics Interchange Format (better known by its acronym GIF; /ˈdʒɪf/ or /ˈɡɪf/) is a bit map image format that was introduced by CompuServe in 1987 and has since come into widespread usage on the World Wide Web due to its wide support and portability.
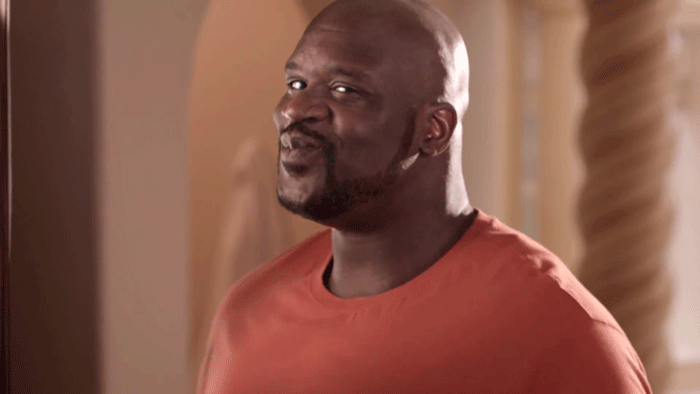
1.To make a Gif you first have to pick your preferred image sevearal images are not needed but are advised
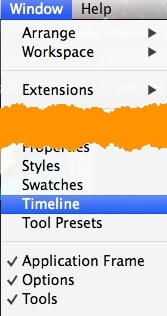
2.The second step is to create the actual animation in Photoshop itself. In order to do this, you first have to open the Timeline window. Go up to Window and choose Timeline
2.The second step is to create the actual animation in Photoshop itself. In order to do this, you first have to open the Timeline window. Go up to Window and choose Timeline
3.Now you will see the Timeline window open at the bottom of the screen. It should be completely empty to start with. Now to create a frame animation, simply right-click anywhere in the Timeline box and choose create frame animation
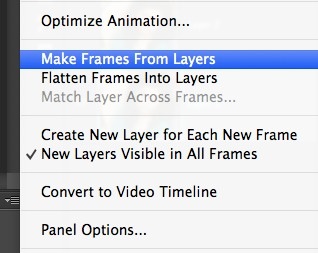
When you do this, you’ll now see only one image in the timeline with a small little 1 in the top left corner. It will either be the image you have selected in the Layers panel or it’ll be the most recently added layer (last image in the animation). At this point, it’s a one frame animation, which is not what we want.4. Then make frames from layers
When you do this, you’ll now see only one image in the timeline with a small little 1 in the top left corner. It will either be the image you have selected in the Layers panel or it’ll be the most recently added layer (last image in the animation). At this point, it’s a one frame animation, which is not what we want.4. Then make frames from layers
5.Now you should see a frame for each layer that you have in your file. Each frame will also have a little drop down below the image that lets you select the length of time that each frame should be displayed.
6.Save Gif File To do this go to file and save to web
6.Save Gif File To do this go to file and save to web